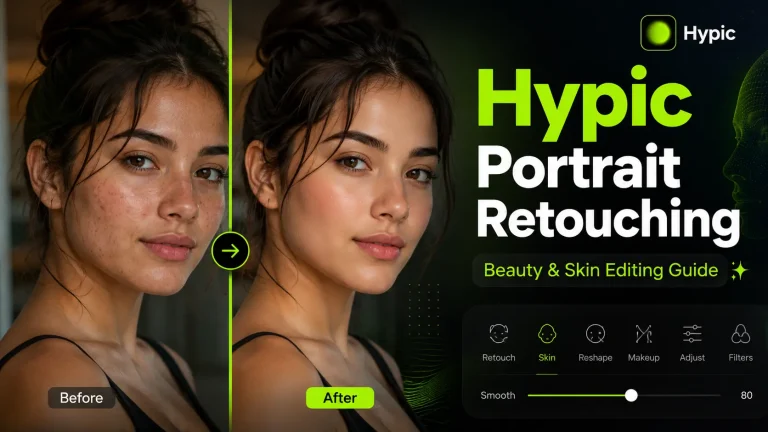
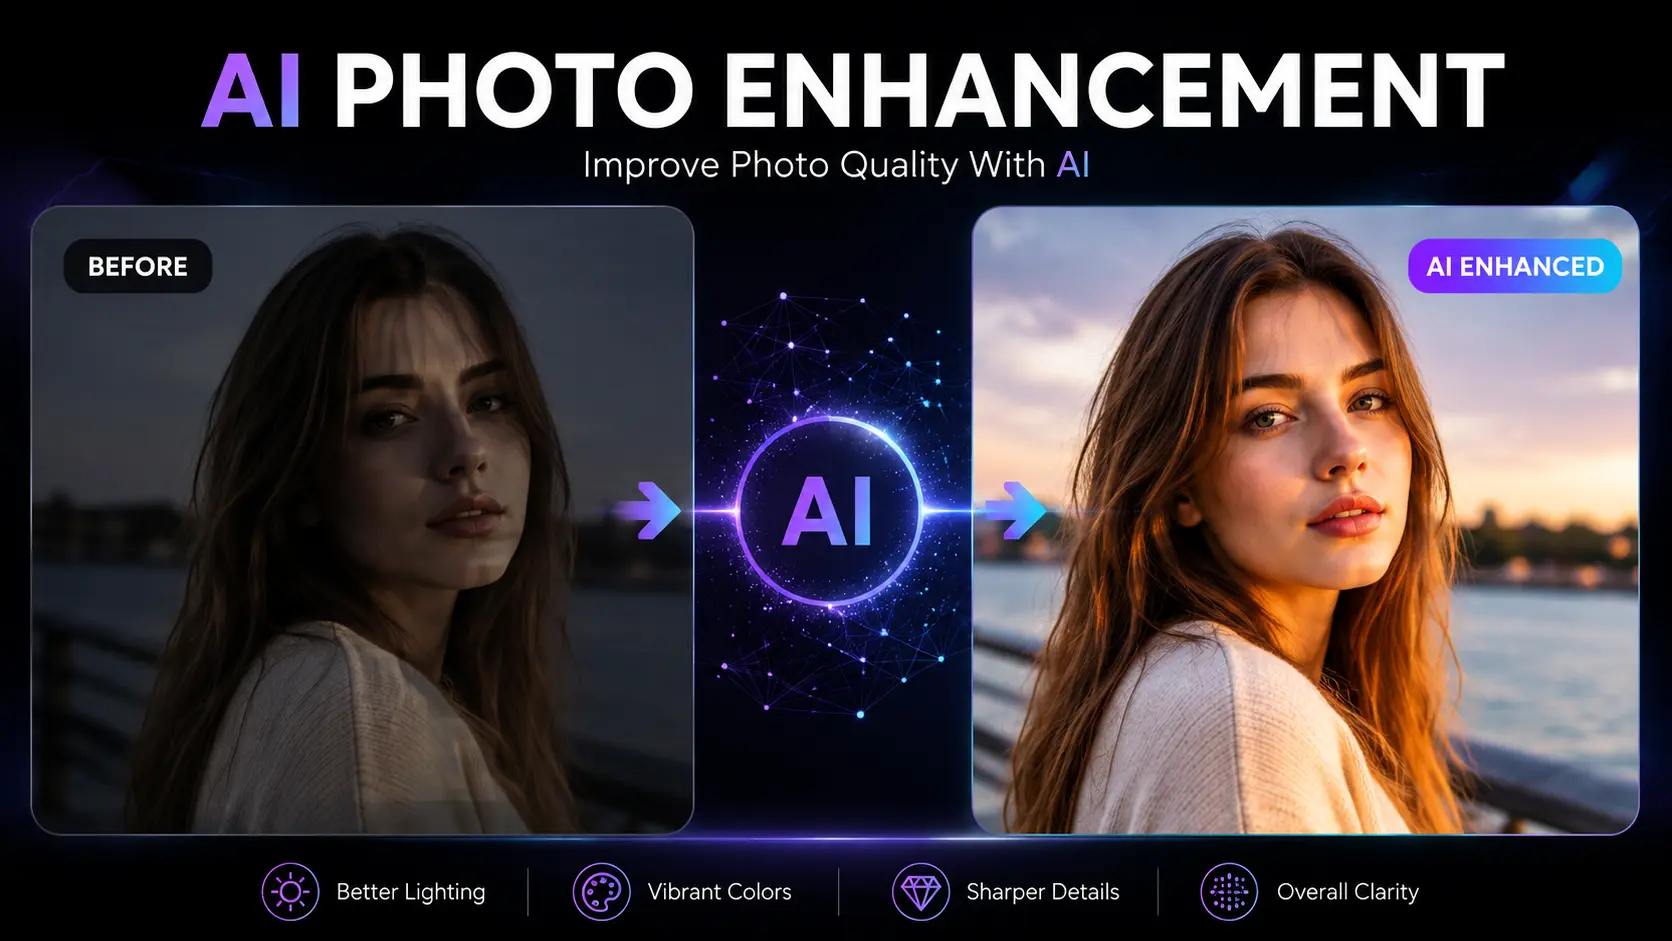
AI Photo Enhancement: How to Improve Photo Quality With AI
AI photo enhancement is one of the easiest ways to improve an ordinary photo without spending a lot of time adjusting editing controls manually. Instead of changing brightness, contrast, colors, sharpness, and other settings one by one, artificial intelligence can analyze an image and apply adjustments based on what the photo needs.
Whether you are editing a portrait, travel photo, food picture, product image, or social media post, AI photo enhancement can help make the result brighter, clearer, and more balanced.
However, AI enhancement is not magic. The final result depends on the quality of the original photo, the editing tool you use, and how aggressively the enhancement is applied.
In this guide, you will learn what AI photo enhancement is, how it works, how to improve photo quality with AI, when it works best, its limitations, and how an AI-powered editor such as Hypic AI photo editor can fit into a simple photo-editing workflow.
What Is AI Photo Enhancement?
AI photo enhancement is a technology that uses artificial intelligence to analyze an image and improve different aspects of its appearance.
Depending on the editing application, AI may detect lighting problems, colors, faces, shadows, highlights, noise, and fine details before applying appropriate adjustments.
Common areas that AI photo enhancement can improve include:
- Brightness and exposure
- Contrast
- Colors and saturation
- Shadows and highlights
- Sharpness
- Fine details
- Image clarity
- Noise and visual artifacts
- Skin tones in portraits
The main advantage is convenience. You do not need to understand every editing slider before getting started. An AI-powered editor can provide a useful starting point, which you can then adjust manually if necessary.
AI Photo Enhancement vs AI Photo Editing
AI photo enhancement and AI photo editing are related, but they are not exactly the same thing.
AI photo enhancement generally focuses on improving what is already present in an image. For example, it may brighten a dark photo, improve color balance, increase clarity, or make soft details appear sharper.
AI photo editing is a broader term. It can include changing or removing objects, replacing backgrounds, applying creative effects, retouching portraits, and making other significant changes to an image.
There are also other related technologies worth understanding:
- AI upscaling: Increases the apparent resolution of an image and attempts to reconstruct additional detail.
- AI restoration: Attempts to repair old, damaged, faded, or heavily degraded photographs.
- AI enhancement: Focuses mainly on improving the appearance, clarity, lighting, and overall balance of an existing image.
Understanding the difference can help you choose the right tool for the result you want.
How Does AI Photo Enhancement Work?
AI photo enhancement starts by analyzing the image rather than simply applying the same adjustment to every photo.
The exact technology differs between applications, but a typical enhancement process may involve several stages.
1. Image Analysis
The AI examines the photo to identify characteristics such as brightness, contrast, colors, visible details, shadows, highlights, and subjects.
Some advanced editors can also recognize faces, backgrounds, objects, and different areas of an image.
2. Lighting Analysis
If a photo is too dark or unevenly exposed, the AI may adjust brightness and exposure.
It can also try to recover some details from shadow areas while keeping brighter parts of the image from becoming excessively exposed.
3. Color Enhancement
AI can identify dull, unbalanced, or inconsistent colors and make adjustments to saturation, temperature, contrast, and related properties.
The goal is usually to make the image look more vibrant without making the colors appear artificial.
4. Sharpness and Detail Improvement
If a photo is slightly soft, AI enhancement can increase apparent sharpness and improve the visibility of fine details.
This does not mean AI can perfectly reconstruct every missing detail. Severely blurred images may still have obvious limitations.
5. Final Optimization
After analyzing different parts of the image, the enhancement system combines its adjustments to create a more balanced result.
The final outcome depends on the original photo, its resolution, lighting, compression, and the AI model or editing tool being used.
If you are working with an older release of Hypic, some AI-related features may work differently or may not be available. In that situation, checking the older versions of Hypic can help you identify the release you need.
Why Use AI to Enhance Photos?
Traditional editing gives you detailed control, but getting the right result can take time. AI enhancement is useful when you want to improve a photo quickly without manually adjusting every setting.
Faster Editing
AI can make several adjustments in a short amount of time. This is particularly helpful when you have multiple photos to process.
Better-Looking Colors
Dull or flat colors can often benefit from AI-assisted adjustments. A good enhancement should make colors look more balanced rather than simply increasing saturation.
Improved Brightness
Photos captured in poor lighting can sometimes appear dark or lose visible details. AI can help improve exposure and make important areas easier to see.
Sharper Details
AI-assisted sharpening can make slightly soft photos look clearer. This can be useful for portraits, travel photos, product images, and everyday pictures.
Beginner-Friendly Editing
You do not need professional editing experience to start. AI can handle many of the initial adjustments automatically, allowing beginners to achieve a better starting point.
What Types of Photos Can AI Enhance?
AI photo enhancement can be useful for many different types of images.
Portraits
Portraits can benefit from improved lighting, color balance, and clarity. When using AI on faces, it is important to check the result carefully so skin tones and facial details remain natural.
For targeted portrait editing, AI-powered retouching and concealing tools can also be useful when you want to correct specific areas instead of applying heavy enhancement to the entire image.
Travel Photos
Travel photographs can sometimes look dull because of weather, lighting, or camera settings.
AI enhancement can help improve the appearance of landscapes, buildings, skies, and other details while keeping the original scene recognizable.
Food Photography
Food images often benefit from balanced brightness, contrast, and color.
A small amount of enhancement can make food look more appealing, but excessive saturation can quickly make the image look unrealistic.
Product Photos
For simple product photography, AI enhancement can help improve clarity, lighting, and overall presentation.
However, accurate colors are especially important for products, so always compare the enhanced version with the original.
Social Media Photos
If you regularly post images on Instagram, TikTok, Facebook, or other platforms, AI enhancement can provide a quick way to polish a photo before publishing it.
When Should You Use AI Photo Enhancement?
AI enhancement is particularly useful when a photo already has a decent foundation but needs some polishing.
Consider using it when:
- The image is slightly dark
- Colors look dull
- Details appear a little soft
- Contrast is weak
- A portrait needs better lighting
- You have many photos to edit
- You want a quick social media-ready image
- You need a better starting point before manual editing
However, AI enhancement may not be enough when an image is extremely blurry, severely compressed, heavily underexposed, or has important details that were never captured by the camera.
How to Improve Photo Quality With AI
The exact process depends on the editing application, but the general workflow is straightforward.
Step 1: Start With the Original Photo
Choose the highest-quality version of the image available.
Avoid repeatedly editing and exporting the same compressed file because every additional compression cycle can affect image quality.
Step 2: Open an AI Enhancement Tool
Open your preferred AI photo editor and look for an enhancement, improve, sharpen, retouch, or similar AI-powered feature.
Step 3: Let AI Analyze the Image
Give the tool a moment to process the photo. The AI may automatically identify areas that can benefit from adjustments.
Step 4: Review the Enhanced Version
Do not immediately export the result.
Compare the enhanced version with the original and look closely at:
- Brightness
- Colors
- Skin tones
- Sharpness
- Shadows
- Highlights
- Fine details
Step 5: Make Small Manual Adjustments
AI does not always produce the perfect result.
If the image looks too bright, too saturated, or excessively sharp, reduce the relevant adjustment manually.
Small changes often produce a more natural result than applying maximum enhancement.
Step 6: Check the Image at 100% Zoom
Before exporting, zoom into important areas of the photo.
Look for unnatural edges, halos, excessive sharpening, strange textures, or changes to facial details.
Step 7: Export the Final Image
Once you are satisfied with the result, save the enhanced image using an appropriate quality and format.
For images intended for social media or websites, balance image quality with file size.
How to Enhance Photos With AI in Hypic
Hypic is an AI-powered photo editing application that combines automated editing features with manual controls.
The exact features and interface can change between app versions, but the general workflow is simple.
If you prefer editing on a larger screen, you can also explore Hypic for PC and use a similar AI-assisted editing workflow.
1. Import Your Photo
Open Hypic and select the photo you want to enhance.
Whenever possible, use the original, highest-quality version of the image.
2. Choose the Appropriate AI Editing Feature
Depending on the type of image and the result you want, choose an enhancement or AI editing feature that matches your goal.
For example, a portrait may benefit from targeted retouching, while a dark image may need lighting or flash-related adjustments.
3. Review the AI Result
After applying the AI effect, compare it with the original.
Pay particular attention to skin tones, facial details, highlights, and shadows.
4. Fine-Tune the Result
If the AI result looks too strong, use manual controls to reduce the effect.
The goal should be to improve the image while keeping it believable.
5. Export Your Photo
Once the result looks natural, export the final image at an appropriate quality.
If you edit photos on an iPhone or iPad, you can also explore Hypic for iOS for a mobile-based photo-editing workflow.
AI Photo Enhancement vs Manual Photo Editing
Both approaches have advantages, and the best choice depends on how much control you need.
| Feature | AI Photo Enhancement | Manual Editing |
|---|---|---|
| Speed | Very fast | Usually takes longer |
| Ease of use | Beginner-friendly | Requires more experience |
| Control | Automated or assisted | Detailed manual control |
| Brightness | AI-assisted | Manual |
| Color correction | AI-assisted | Manual |
| Sharpness | AI-assisted | Manual |
| Best for | Quick improvements | Precise editing |
| Workflow | AI first, then refine | Adjust settings individually |
For many users, combining both methods is the most practical approach.
You can use AI to create a good starting point and then make a few manual adjustments to achieve a more natural final image.
Best Practices for Better AI Photo Enhancement Results
AI can make editing easier, but the quality of the final image still depends heavily on how you use it.
Start With the Highest-Quality Original
The better your source image, the more useful AI enhancement can be.
If possible, avoid starting with screenshots or heavily compressed copies.
Do Not Over-Enhance
Maximum enhancement is rarely the best option.
Too much sharpening can create harsh edges, while excessive saturation can make colors look unrealistic.
Check Skin Tones
Portraits require extra attention.
Make sure skin does not become unusually orange, red, pale, or overly smooth after enhancement.
Compare Before and After
Always keep the original visible while reviewing the result.
A change may look impressive at first but become excessive when compared directly with the original.
Check Details at 100% Zoom
Zooming in can reveal artifacts that are difficult to notice when viewing the entire image.
Pay attention to hair, eyes, skin texture, object edges, and fine background details.
Use AI as a Starting Point
AI does not have to make every final decision.
A useful workflow is:
AI enhancement → review → small manual adjustments → final export
This approach gives you the speed of AI while retaining some control over the final appearance.
Can AI Improve a Low-Quality Photo?
Yes, AI can improve the appearance of many low-quality photos, but there are limits.
For example, AI may help make a slightly soft image appear sharper or brighten an underexposed photograph.
However, AI cannot always recover information that was never captured in the original image.
An extremely blurry, heavily compressed, or very low-resolution photo may still contain visible defects after enhancement.
This is why AI enhancement should be viewed as an improvement technique rather than a guarantee of perfect image restoration.
AI Enhancement vs AI Upscaling
These terms are sometimes used interchangeably, but they have different purposes.
AI enhancement focuses on improving the overall appearance of an image, including brightness, color, contrast, sharpness, and clarity.
AI upscaling focuses more specifically on increasing image dimensions and reconstructing additional detail so a smaller image can be displayed at a larger size.
Some modern applications combine both technologies, but they are not exactly the same process.
If your main problem is that the image looks dull or poorly exposed, enhancement may be enough. If the image is too small for your intended use, you may also need upscaling.
Common AI Photo Enhancement Mistakes
AI can automate much of the editing process, but there are still mistakes you should avoid.
Over-Sharpening
Too much sharpening can produce harsh edges, halos, and unnatural-looking textures.
Excessive Saturation
Increasing color intensity too much can make skies, skin, food, and other objects look unrealistic.
Too Much Brightness
Aggressive exposure adjustments can remove details from bright areas.
Ignoring Skin Tones
A global color adjustment can affect skin differently from the rest of the image.
Always inspect portraits carefully.
Repeatedly Editing a Compressed Image
Saving and re-editing the same compressed image multiple times can reduce quality.
Start with the original whenever possible.
Assuming AI Is Always Correct
AI makes decisions based on image analysis and learned patterns. It can make mistakes.
Always review the final result before exporting or publishing it.
Is AI Photo Enhancement Worth Using?
For everyday photo editing, AI photo enhancement is useful when speed and convenience matter.
It can quickly improve common issues such as dull colors, weak lighting, soft details, and uneven exposure without requiring advanced editing knowledge.
Its biggest advantage is that it gives you a strong starting point.
However, AI should not replace good photography or thoughtful editing. A badly captured image may still have limitations, and aggressive AI processing can sometimes make a photo look less natural.
For the best results, use AI to handle the initial improvements and then make small adjustments when necessary.
Frequently Asked Questions
What is AI photo enhancement?
AI photo enhancement is a technology that uses artificial intelligence to analyze and improve aspects of an image such as brightness, color, contrast, sharpness, and detail.
Can AI improve photo quality?
Yes. AI can improve the appearance of many photos by adjusting lighting, colors, sharpness, and other image properties. However, it cannot always recover details that were completely missing from the original image.
Can AI make a blurry photo clearer?
AI can make some slightly blurry or soft photos appear clearer by improving sharpness and reconstructing certain details. Extremely blurry images may still have noticeable limitations.
Is AI photo enhancement the same as upscaling?
No. Enhancement generally focuses on improving the appearance of an image, while upscaling increases its dimensions and attempts to reconstruct additional detail.
Does AI photo enhancement reduce image quality?
AI enhancement does not necessarily reduce image quality, but excessive processing or repeated compression can introduce artifacts or reduce the final quality.
Can I enhance photos with AI on my phone?
Yes. Many modern mobile photo editors provide AI-powered enhancement and editing features, making it possible to improve photos directly from a smartphone.
What is the best way to enhance a photo with AI?
Start with the highest-quality original image, apply moderate AI enhancement, compare the result with the original, make small manual adjustments if needed, and check the image at full resolution before exporting.
Final Thoughts
AI photo enhancement makes it much easier to improve ordinary photos without spending a long time adjusting every editing control manually.
It can help with common problems such as dull colors, poor lighting, soft details, and weak contrast. It is particularly useful for portraits, travel photos, food photography, product images, and social media content.
At the same time, AI has limitations. It cannot magically restore information that was never captured, and excessive processing can make an image look artificial.
The most effective workflow is usually simple: start with a high-quality original, let AI handle the initial improvements, compare the result with the original, and make small manual adjustments when necessary.
If you use an AI-powered editor such as Hypic, experimenting with its available AI editing and enhancement features can give you a fast starting point while still allowing you to control the final look of your photos.